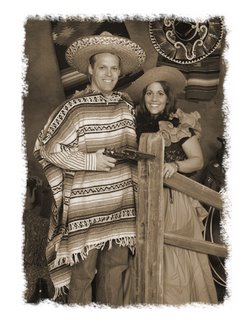
How to Create an Art Boarder in PhotoShop Elements

Choose the image you want to create an art boarder on
To find out what the size of that image is
Go to Image>Resize>Image size
Whatever size the image is, create an new background about an inch larger
To do that, go to File>New>Blank file, put in the size of the background you want in inches.
Go back to the image you choose and hit the Control key and the A key. That will select the whole image. (Marching ants)
Using the Move Tool, Drag the image to the while blank background.
If the image is too big, hit the Control key and the T key. That will transform the image. Grab a corner square and drag the image smaller. DE-Select the Move tool and hit enter. That will take the boxes off the corner of the images.

3 Comments:
hey there., you have a really nice border. very artistic.
You've used photoshop beautifully. There are many option there by which we can generate so many effects in our images.
Thanks for the tips. I always hunt for great sources of info for my photography site.
Post a Comment
<< Home